Paper Circuit Art
In this activity, you will
make a birthday card with candles that really light up or a picture of a constellation shining in the night sky using a few really cool electronic supplies.
Supplies Required
- Card stock
- Copper tape, ¼ inch wide and double-sided conductive (available online for about $6 or in hardware stores as slug tape)
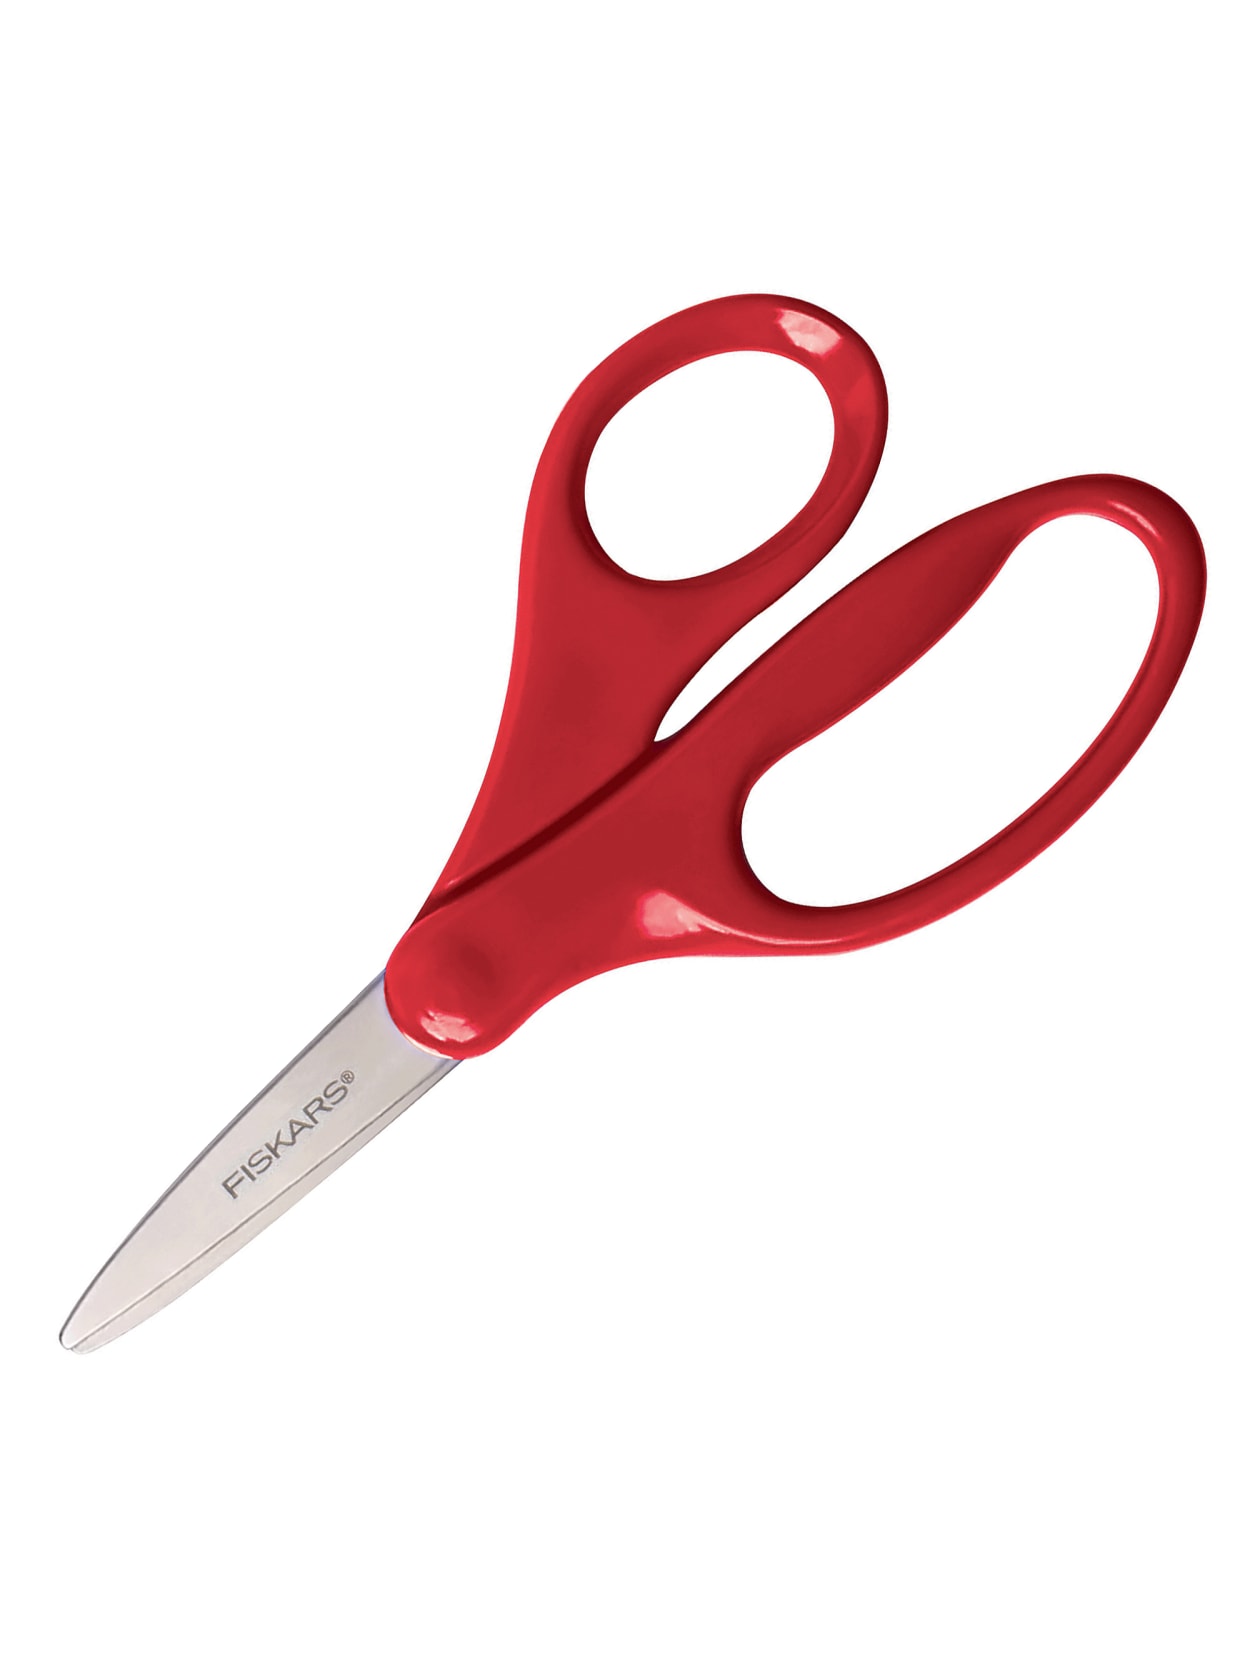
- Scissors
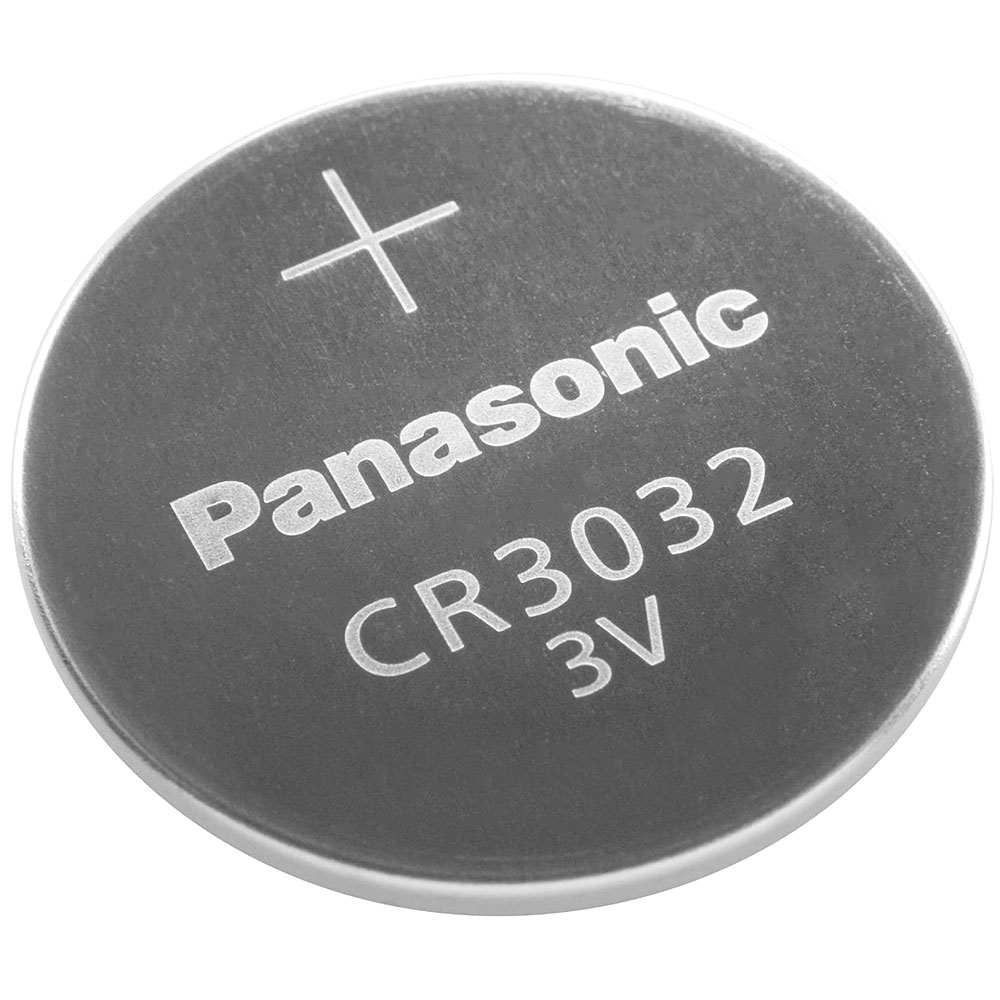
- 3V coin cell battery
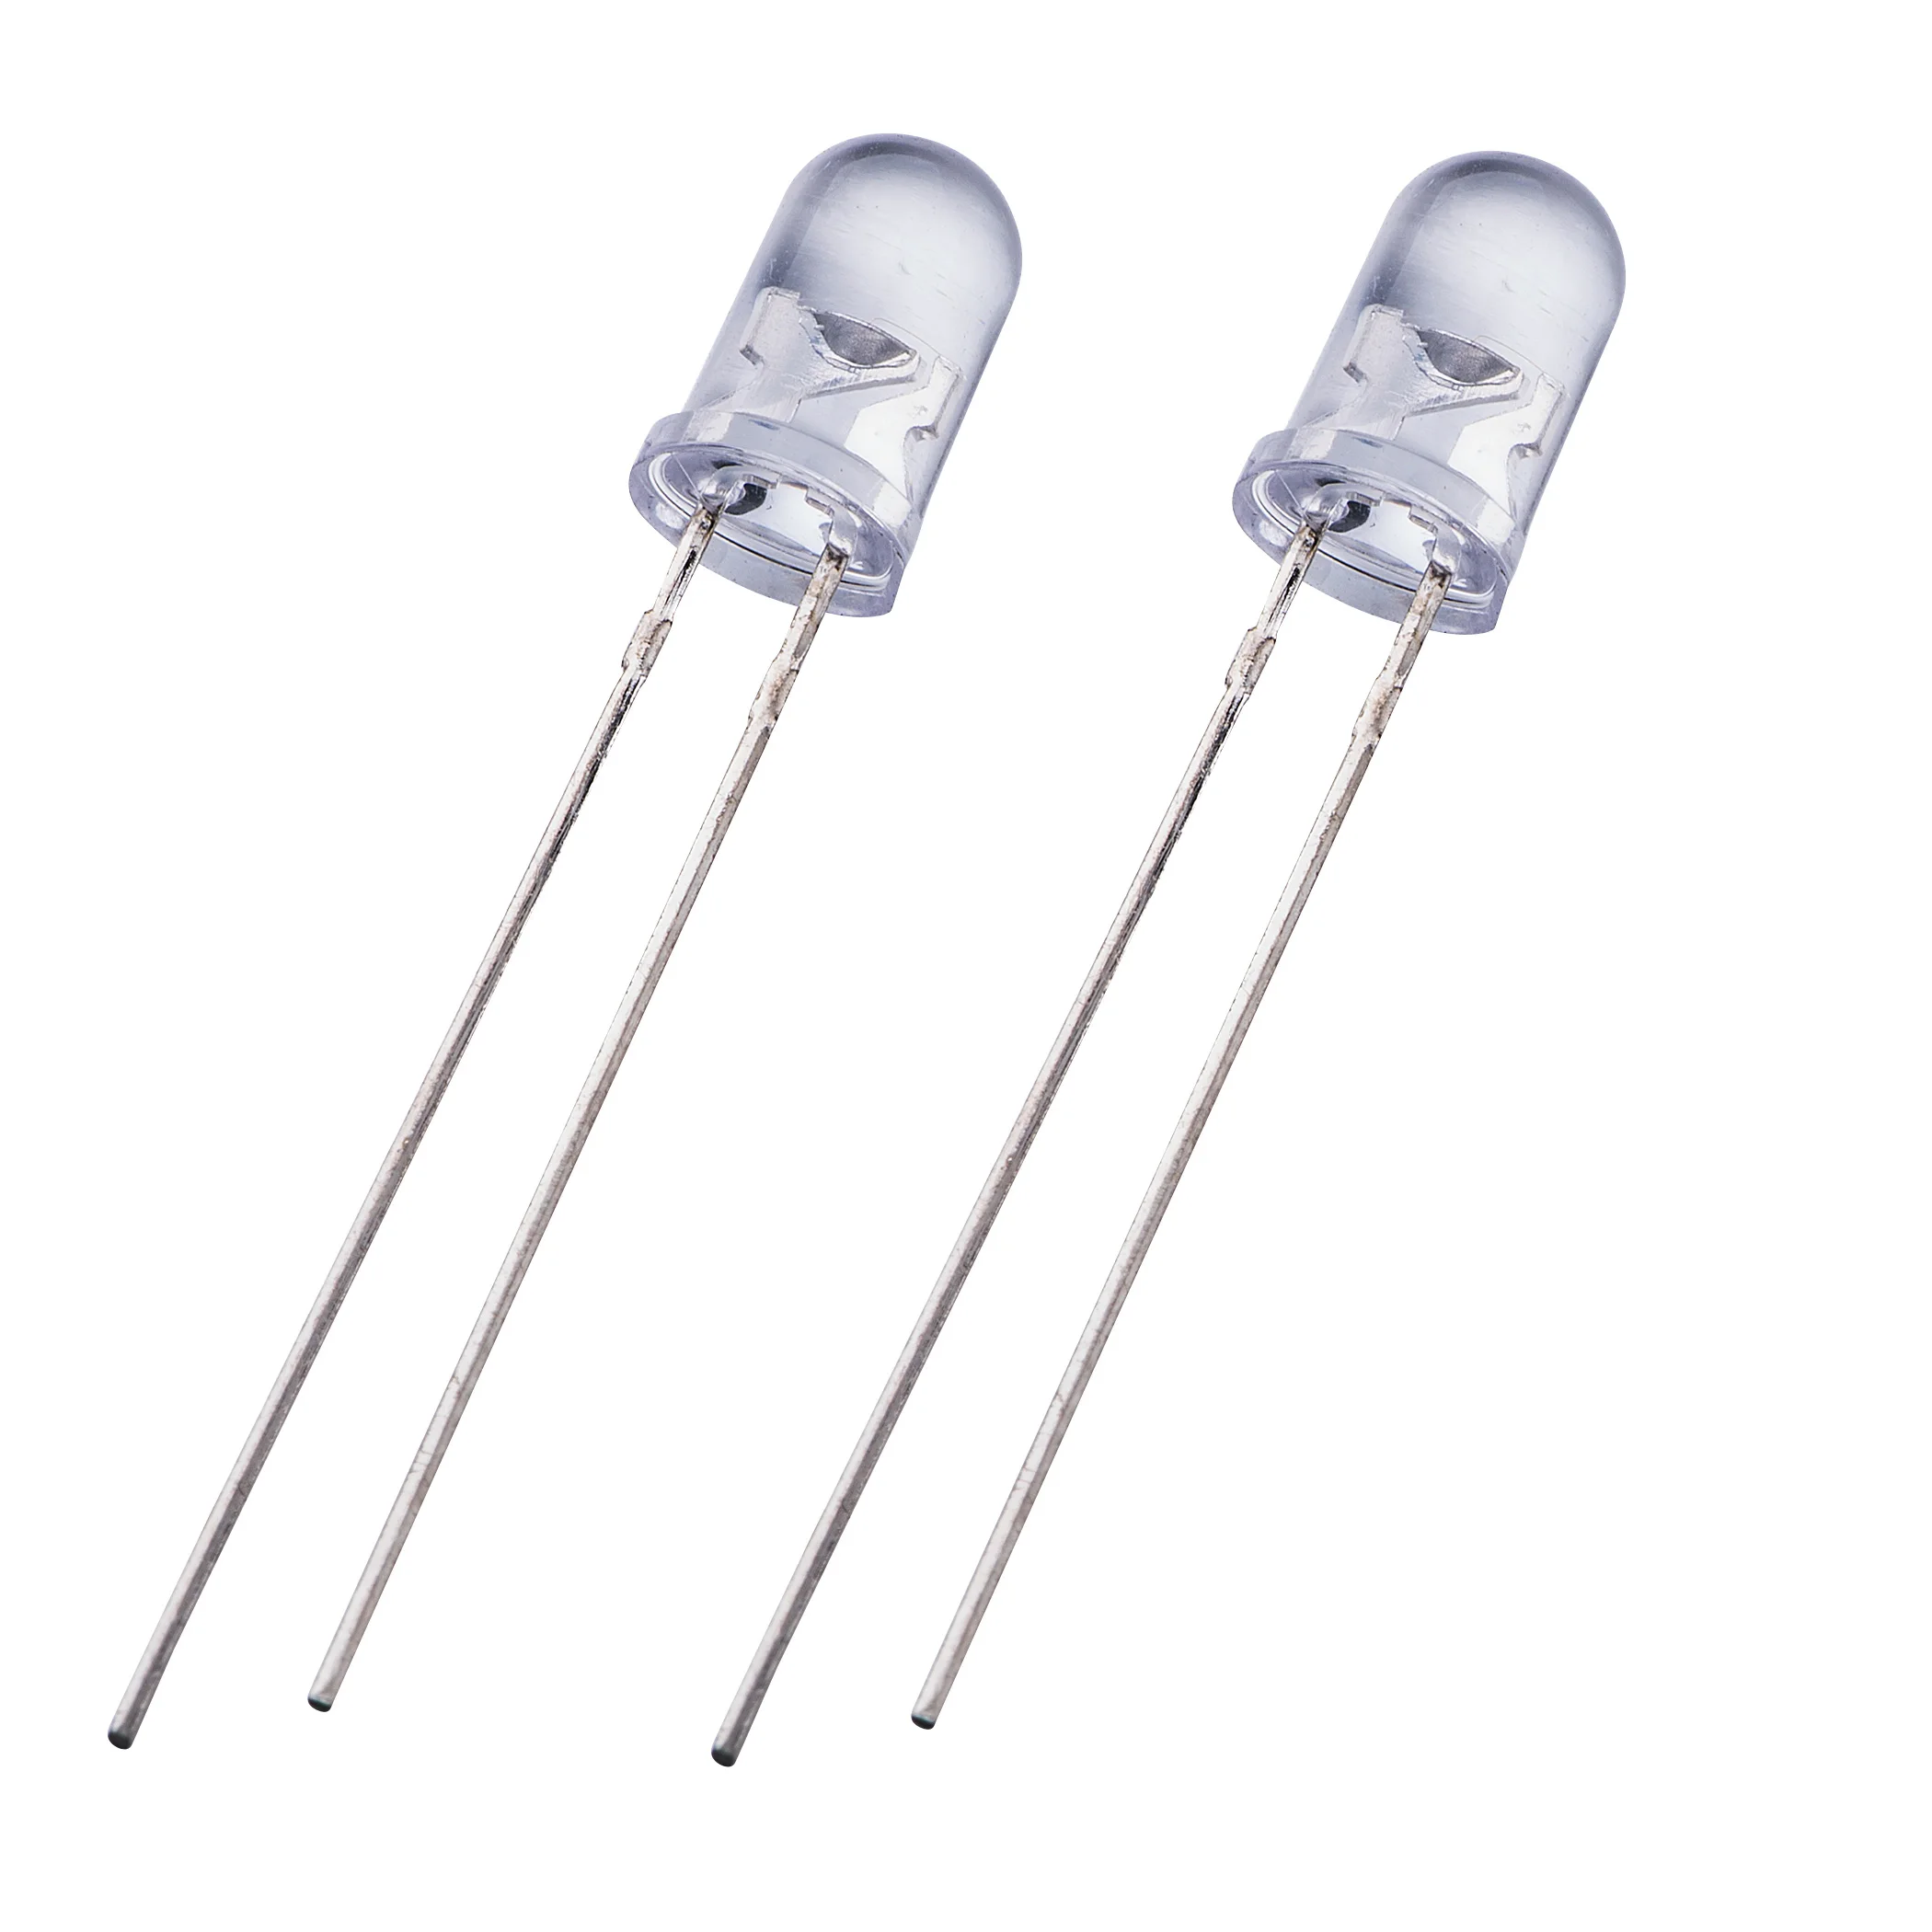
- 5mm LEDs
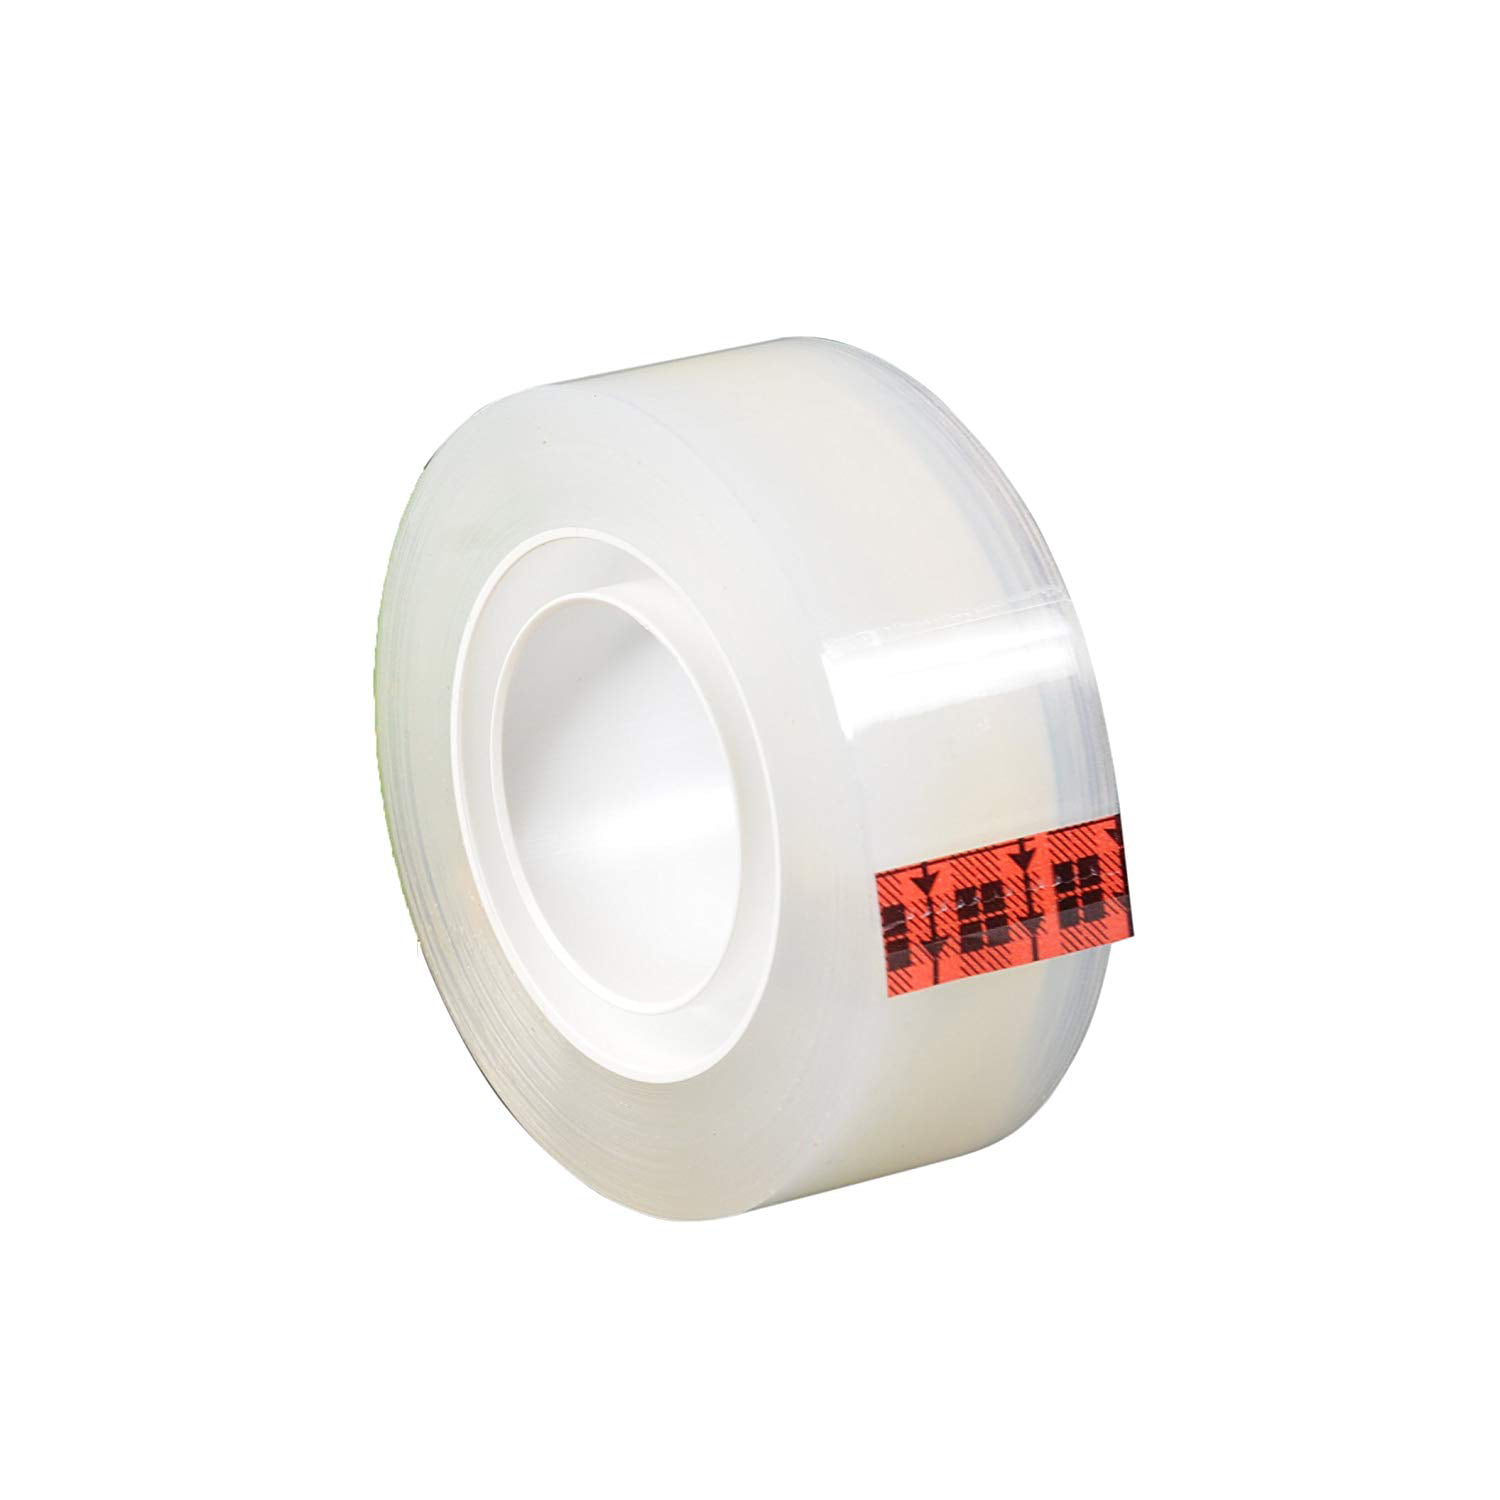
- Clear tape


The Challenge
Problem and Hypothesis
[contact-form-7 id="18628" title="STEM book form SCI 1"]Let’s Experiment and Build!
Instructions
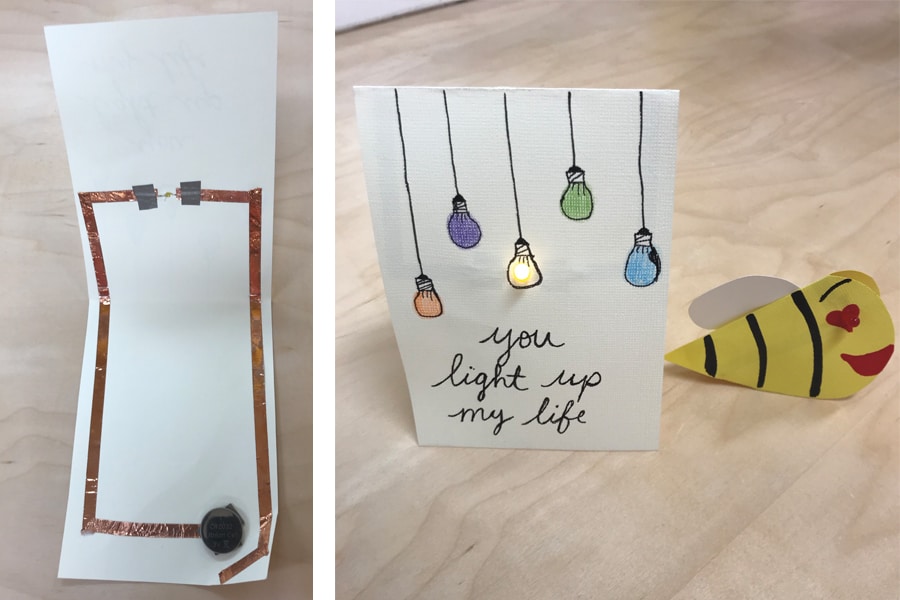
Electrons flow from the negative end of the battery around the entire closed electrical circuit through the copper tape. When the circuit is closed, the LED turns on. If it is left open, the LED will not turn on.
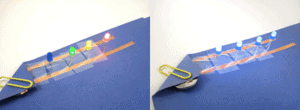
- Make a simple paper circuit: Place copper tape on the card stock in the shape of a square, leaving a tiny gap in one of the sides of the square, using scissors as needed. Make sure 3 of the corners of the square are connected, but leave another space between the ends of the tape in the fourth corner.
- At the open corner, place the bottom (negative side) of a coin cell battery on one end of the copper tape.
- Using another piece of copper tape or a paperclip, connect the top (positive side) of the coin cell battery to the other end of the tape in the corner.
- Place an LED in the gap you left in the side of the square, making sure both pins of the LED touch the tape.
- If the LED turns on, you have it in the right place. You have just made a closed circuit! Secure it with clear tape.
- If the LED does not turn on, flip it 180 degrees. LEDs work only in one direction.
- Once you have succeeded at making a simple paper circuit, use your imagination to create a card for a friend using a circuit and LEDs.
- Observations: Why do you have to leave a gap for the LED to bridge? Will the light turn on without a gap in the tape?
Caution: Coin cell batteries are extremely dangerous if they are swallowed. Do not leave your card or any electronic supplies where a younger child can get them.
Experiment, Analysis, and Conclusion
[contact-form-7 id="18626" title="STEM book form SCI 2"]Think about it and Additional Resources
Now Try This! Can you create a paper circuit card with an on/off switch? Hint: A paperclip attached to a metal brad (also called a paper fastener) rotates on paper very easily.
Share on social media: Record a video or take a picture of your activity
and post the results online using the hashtags:
#CircuitArt
#ProjectExploration
#StemAtHome
Tag a friend and challenge them to do it, too!
For more activities like this one, go to www.projectexploration.org/stemhome. If you’re interested in learning more about Project Exploration and our free events, programs, and activities, please find us on social media and be sure to follow!
Call or text us for help: 312-772-6634
In these videos, you’ll learn about:
- the power of circuits
- atoms, electrons, and electricity