Microscopy Marbling
In this activity, you will
learn about cells and use a technique called marbling to create a piece of art of what cells could look like under a microscope.
Supplies Required
- 1 tbsp cooking oil

- Liquid food coloring

- Plant saucer

- White paper

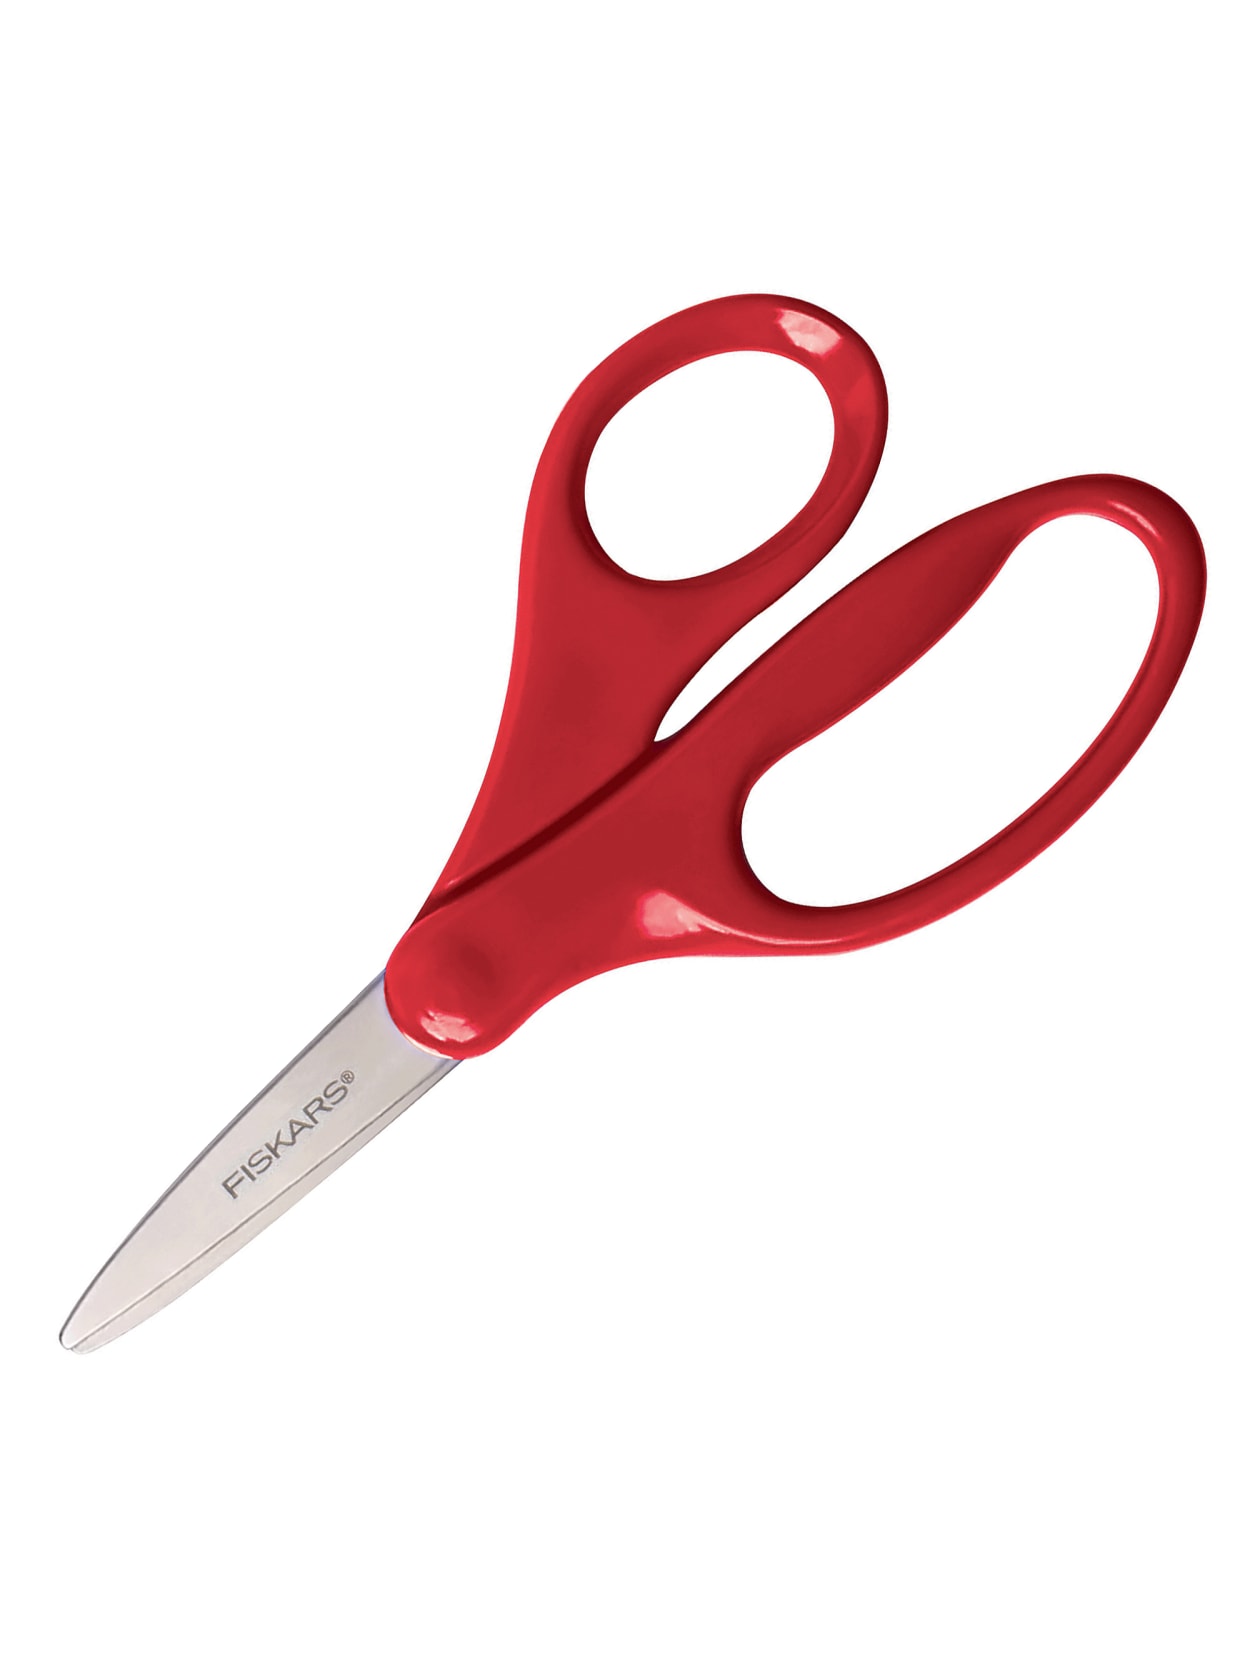
- Scissors
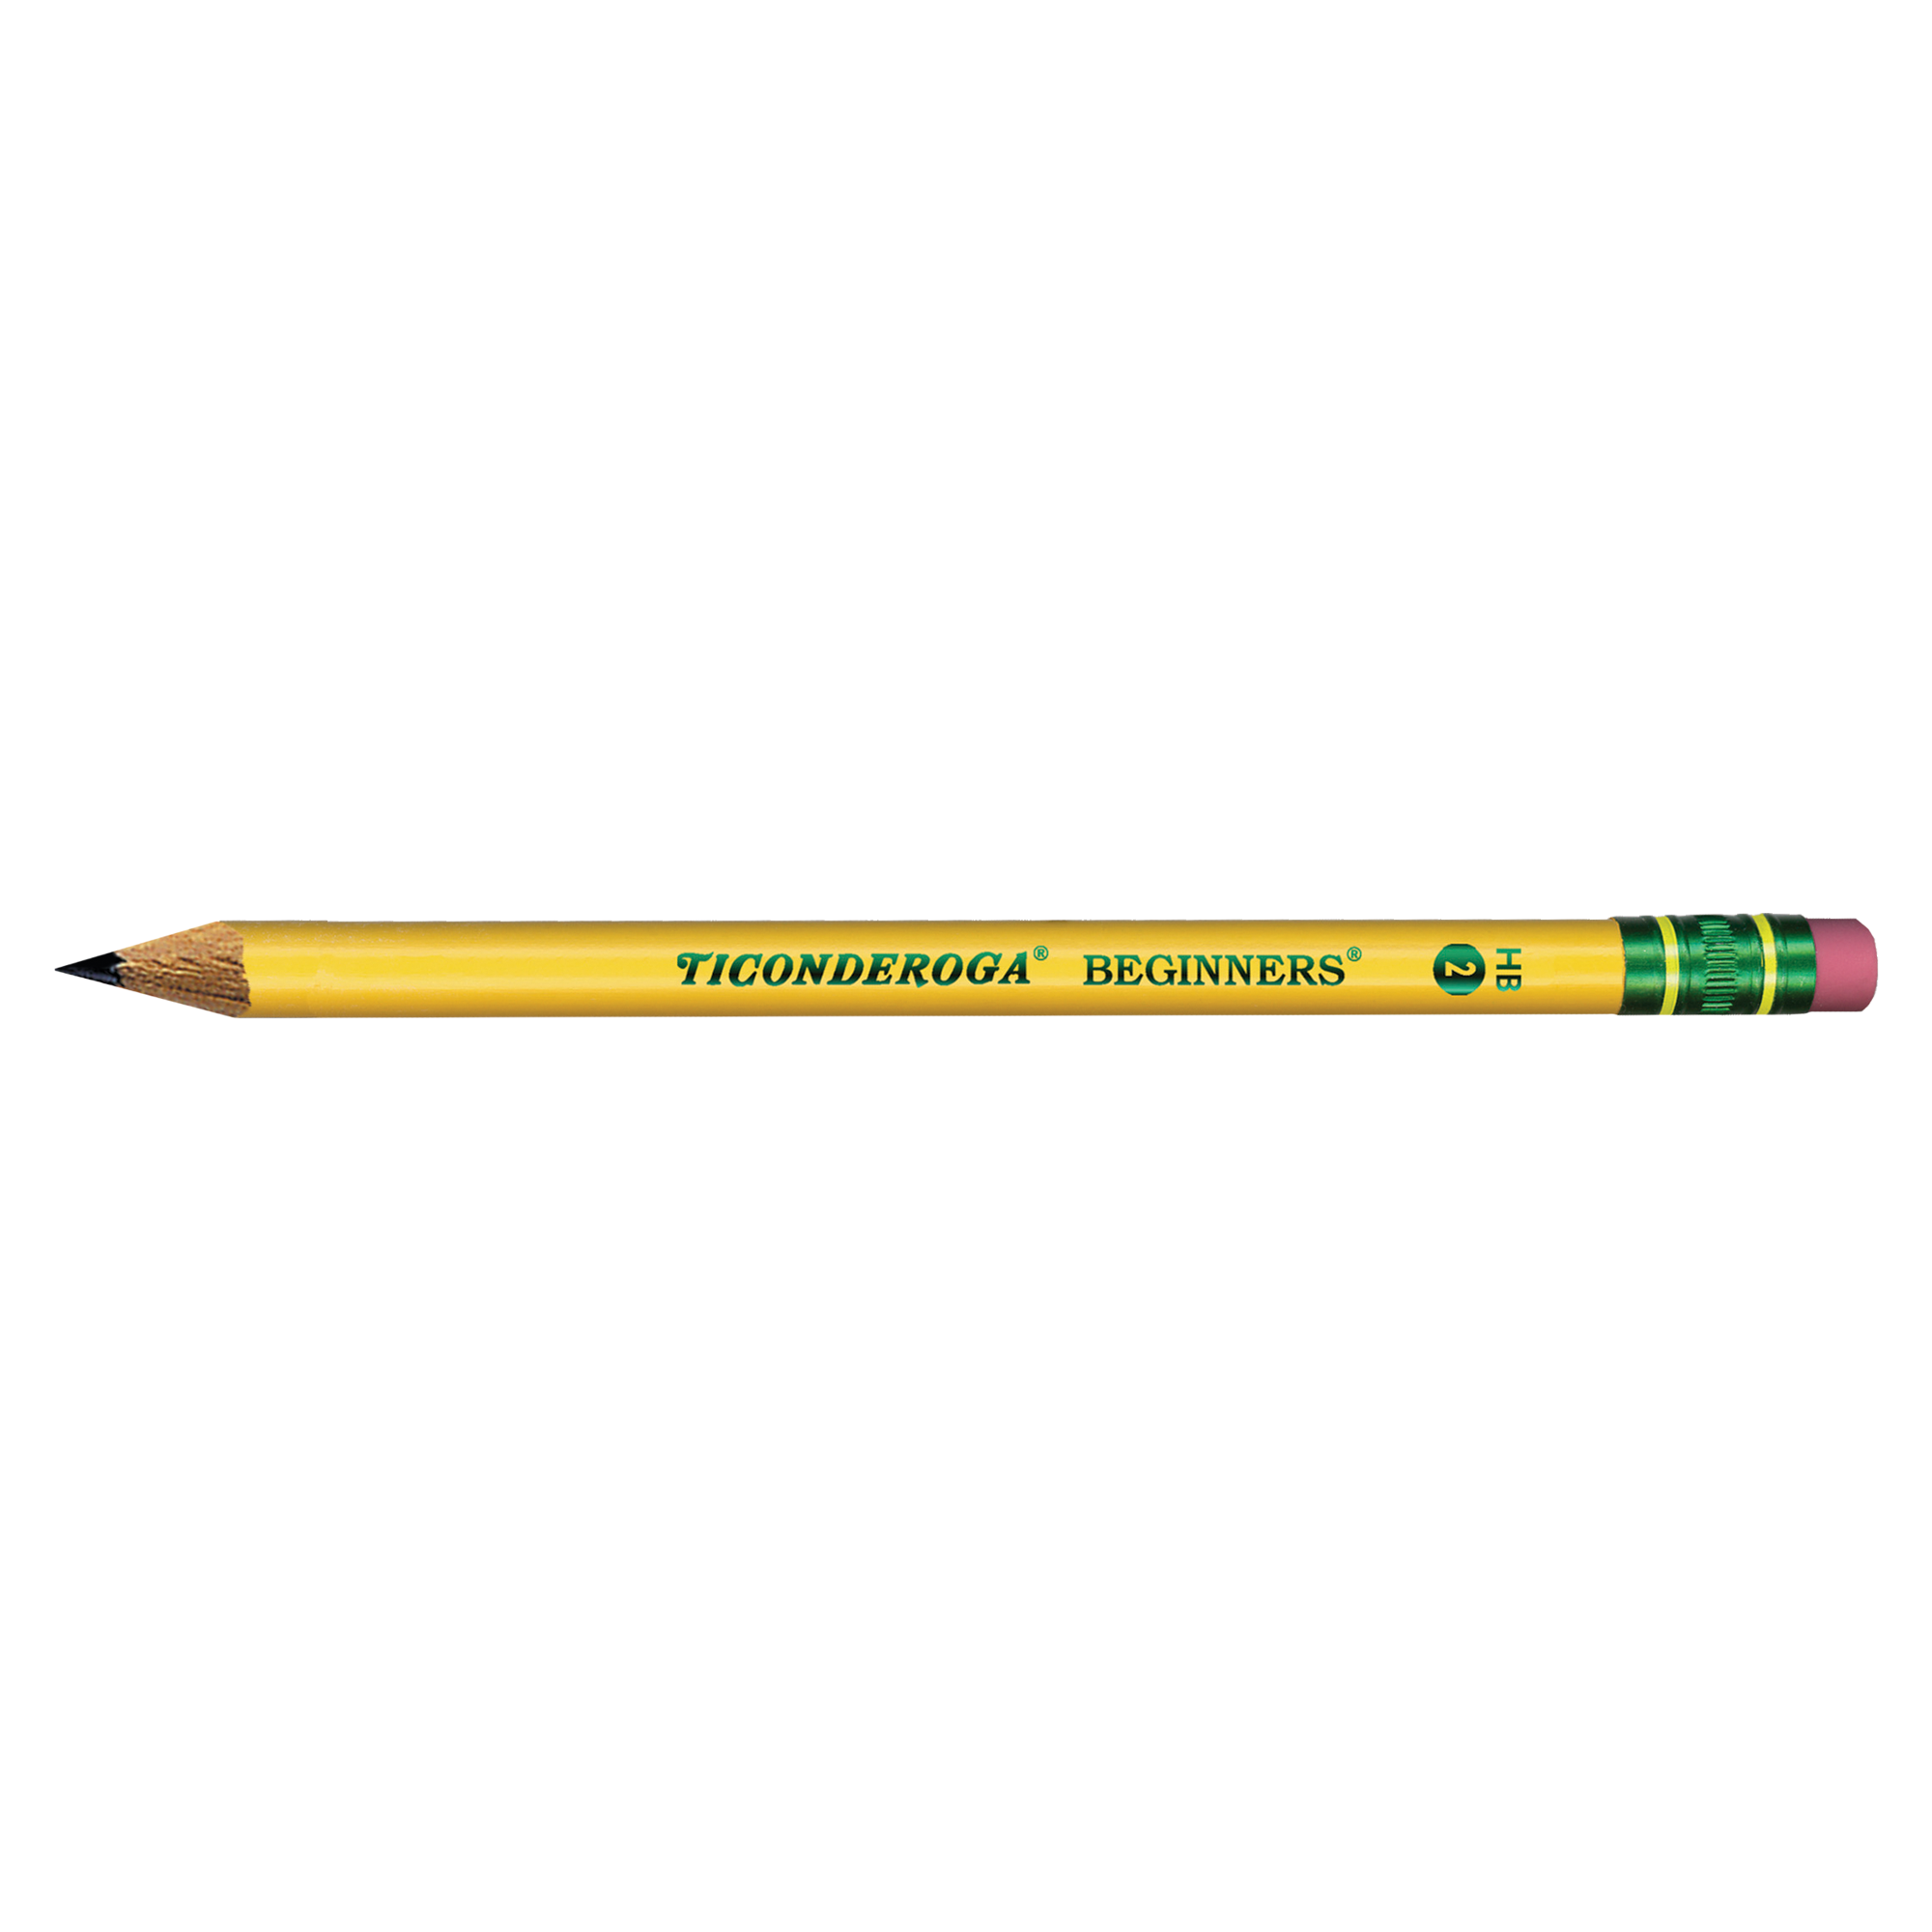
- Pencil
- Glue or tape

- Fork

- Water

The Challenge
Do you know what every living being on Earth is made of? Cells! Your body is made up of trillions of cells. Fun fact, the average human body is made up of 30 trillion cells. Cells are so small that you can only see them using a tool called a microscope. In this activity, you will use a technique called marbling to color a piece of paper to look like what cells look like under a microscope.
Problem and Hypothesis
[contact-form-7 id="18628" title="STEM book form SCI 1"]Let’s Experiment and Build!
Instructions
- Fill your plant saucer with about 1 inch of water.
- Pour in 1 tbsp of cooking oil.
- Add 5 drops of food coloring.
- Stir gently with a fork to mix.
- Lay your paper on top of the water and remove immediately. Let the excess drip off into the plant saucer.
- Lay your paper flat and wait for it dry. Repeat with more paper. Or mix up a new dish of water, oil, and food coloring using a different color.
- Once dry, using a pencil, a lid, or cup, trace a circle onto the dyed paper.
- Cut out the circle and glue or tape it onto another sheet of paper to display your masterpiece!
Experiment, Analysis, and Conclusion
[contact-form-7 id="18626" title="STEM book form SCI 2"]Think about it and Additional Resources
Share on social media: Record a video or take a picture of your activity and post the results online using the hashtags:
#Cells
#Marbling
#ProjectExploration
#StemAtHome
Tag a friend and challenge them to do it, too!
For more activities like this one, go to www.projectexploration.org/stemhome. If you’re interested in learning more about Project Exploration and our free events, programs, and activities, please find us on social media and be sure to follow!
Call or text us for help: 312-772-6634
In this video, you will…
- See what different objects look like under a microscope